There is something about how leather feels, looks, and smells! It's known for it's durability and, it's nostalgia is undeniable. I had NO IDEA how many types, thicknesses, tanning methods, nor colors were available until I initiated this task. After hours of searching various supply outlets on the internet, I finally settled on a cattle leather that was described as 9-10 oz. (which turned out to be the perfect thickness for the size and weight of Ol' Smokey). I ended up liking a color that the manufacture described as "Bourbon Brown". I had to watch a multitude of videos to learn how to template, cut, sew, and treat the leather before I could even begin.
The accompanying photos are documentation of how I elected to design and construct the sheath that allowed Ol' Smokey to become a functional (potentially LIFE SAVING) tool that could be safely carried in the wilderness. Thanks for taking the time to scroll thru them.
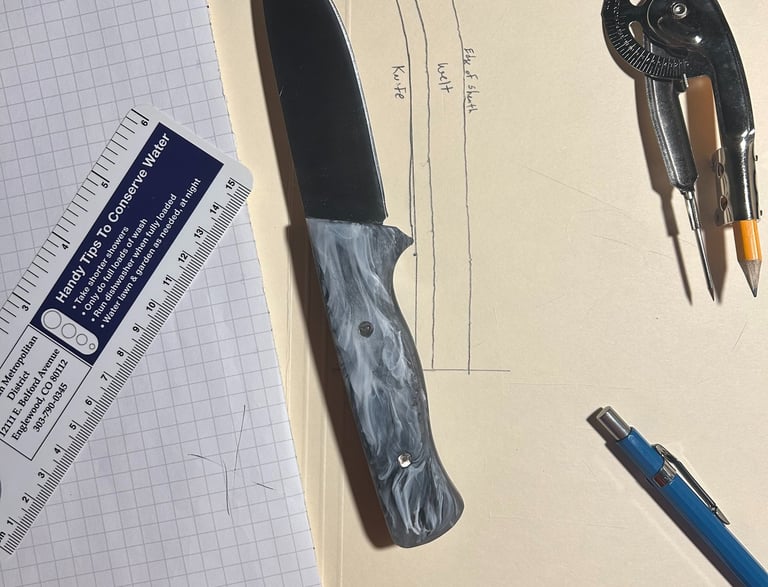
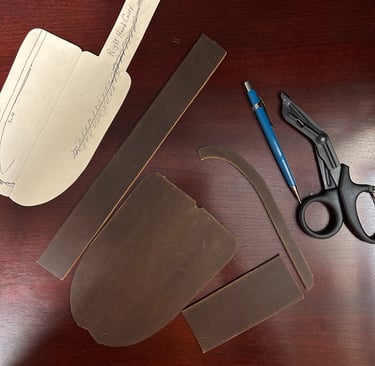
(1) Begin with making the Template for your knife
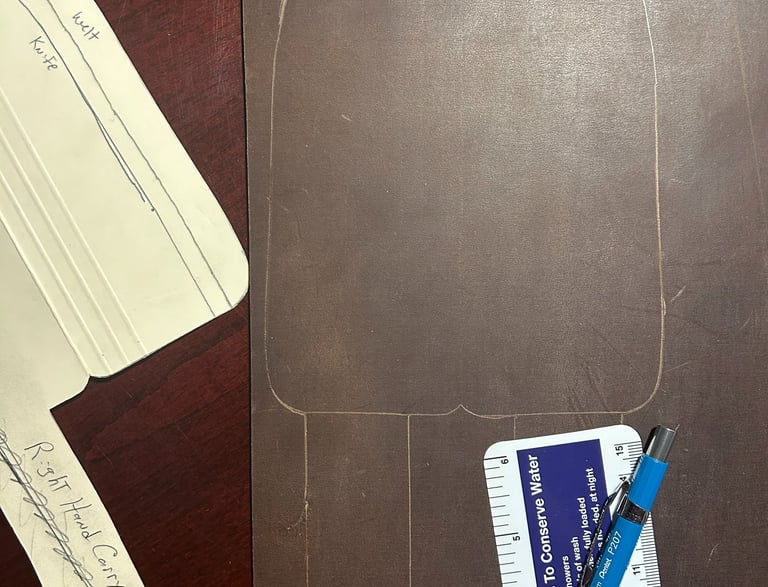
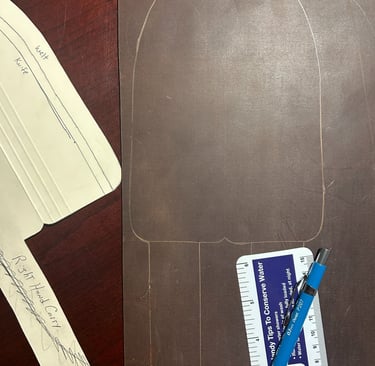
(2) Trace the Template onto the leather you've chosen
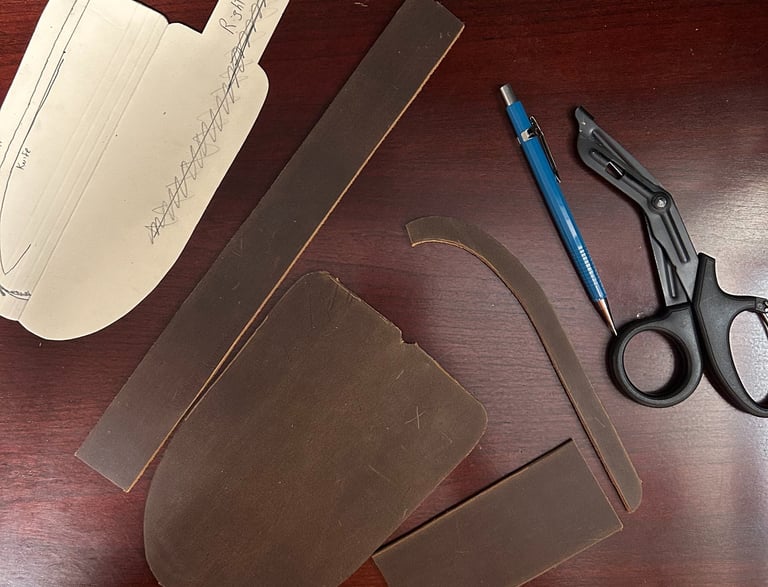
(3) Cut the individual pieces of leather out
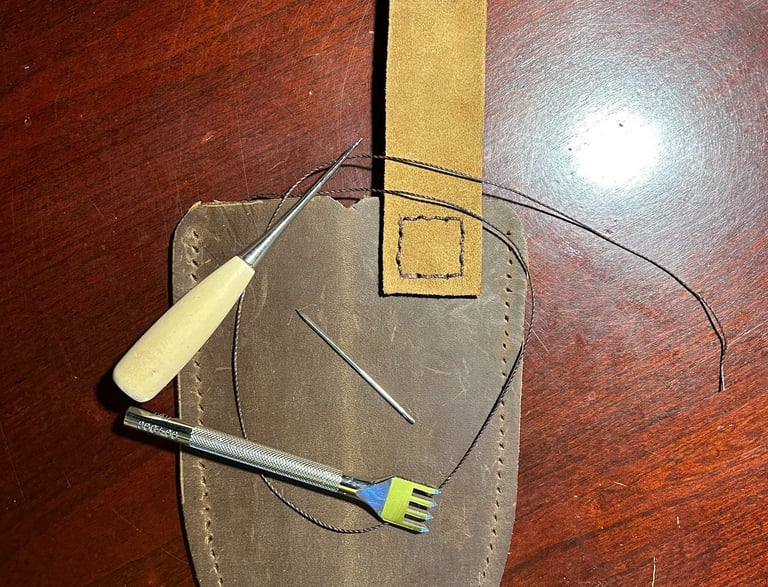
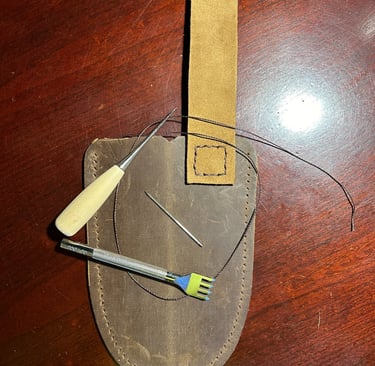
(4) Punch holes, sew the pieces together and, bevel the edges
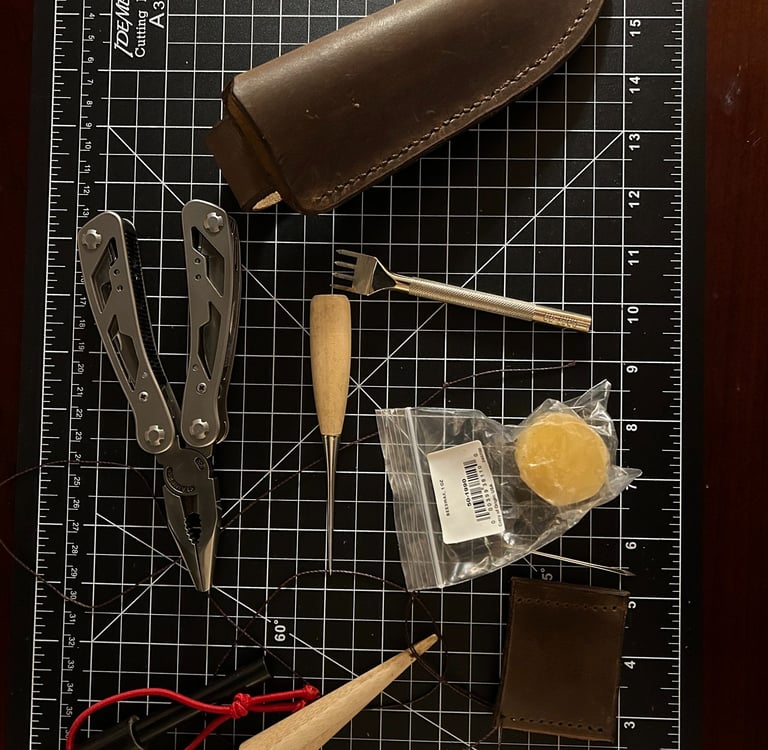
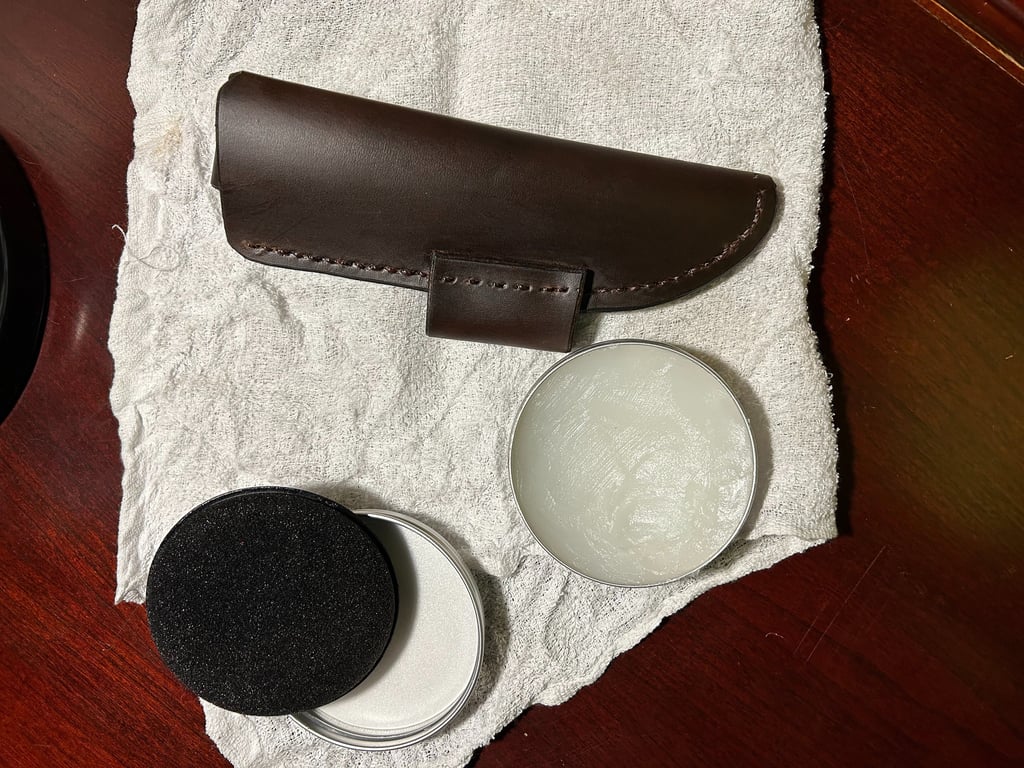
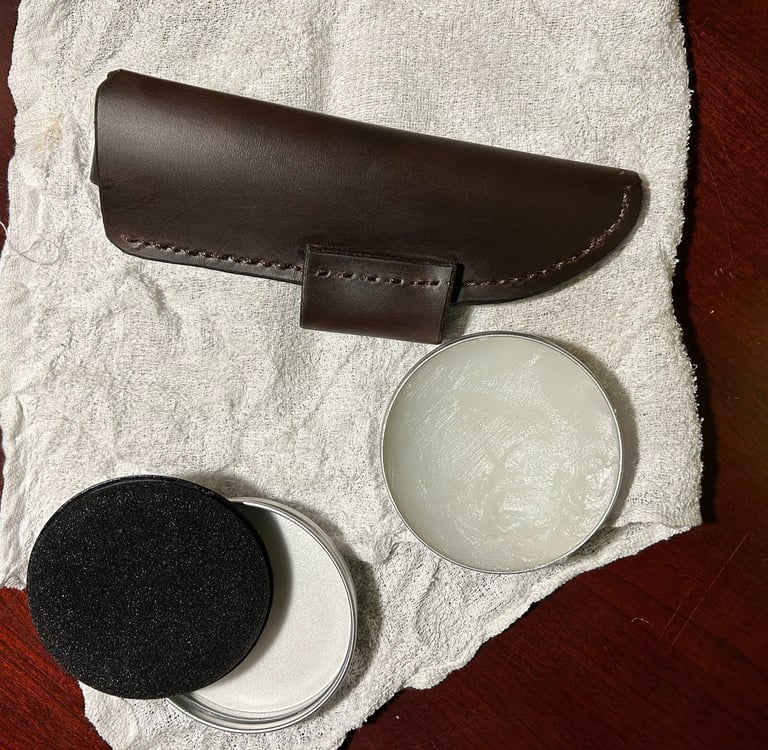
(5) Stain, apply Bees Wax, and burnish the edges
(6) Apply Mink Oil to perfection!!!
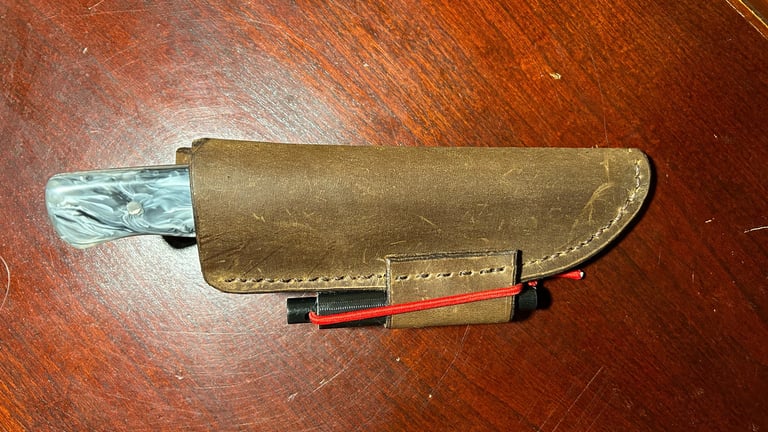
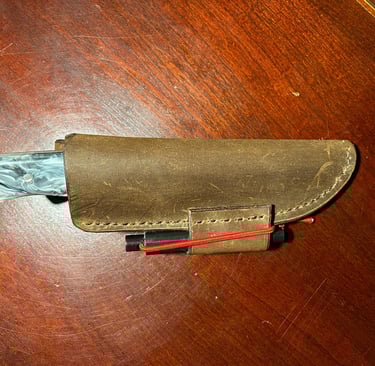
There are plenty of "add on's" that people place on their sheaths. Some folks install a pouch to hold a sharpening stone. I chose to implement a loop to secure a ferrocerium rod with. Some people consider it a Staple to lay a sewing needle on the back of their sheath and secure it with a strip of duct tape (Just In Case). I hope you will stop by here again for next months "Build of the Month"!!
...was the next item that I had to tackle in order to complete the "Project". I approached the task with the mentality that most Bushcraft knife sheaths that I have ever seen were constructed out of leather. I'd never really built anything substantial out of leather before but, I knew that a leather sheath was exactly what Ol' Smokey deserved.
"Ol' Smokey", (the sheath)...